Monster Bash Project Page 2
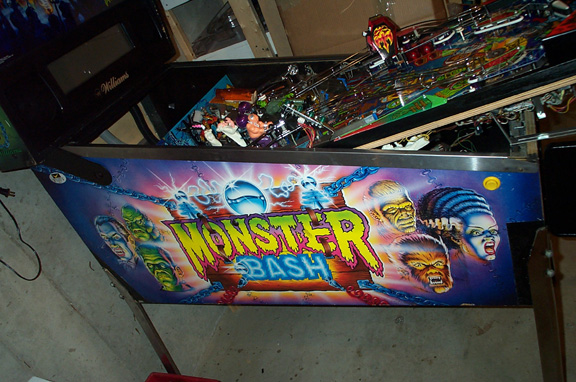
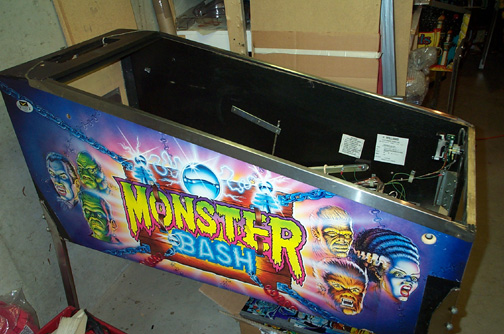
| Here is the left side of the cabinet. See the artwork missing in large cuts around the legs. This sticker on this game wrinkles badly around the legs. | |
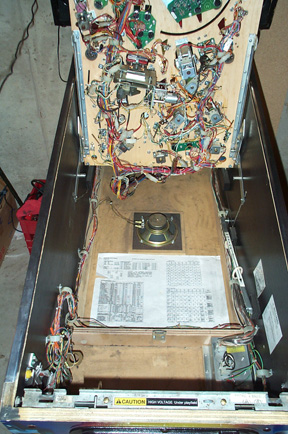
| The inside of the cabinet is dirty as are most but the original paper is still inside in decent shape. | |
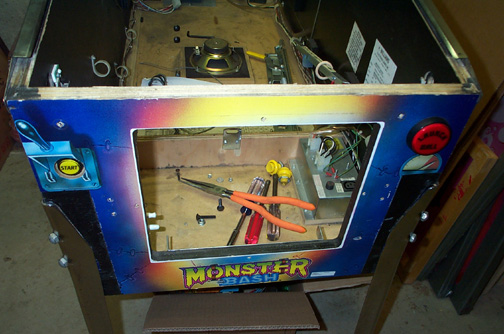
| Here is the front of the cabinet with the old coin door removed. Again the artwork has been cut away around the legs and painted black. | |
| First thing to do is get a start on the cabinet because it'll be a ton of work to get the artwork done. The head here is pulled off so we can work on it. | |
| Here the main cabinet is shown minus the head and the playfield. Buttons and bolts have been removed so that the artwork can be removed. | |
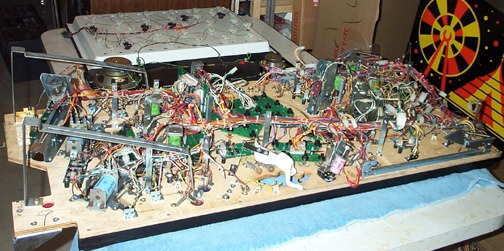
| After stripping the top of the playfield minus the rails and posts we can set it on the rails and flip it over. Here is sits so we can start the bottom swap. My cyclone sits beside it to watch :-) | |
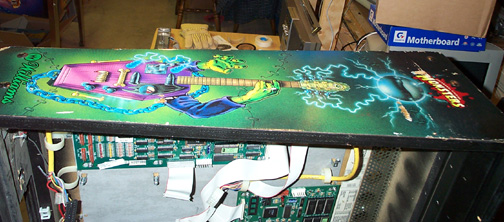
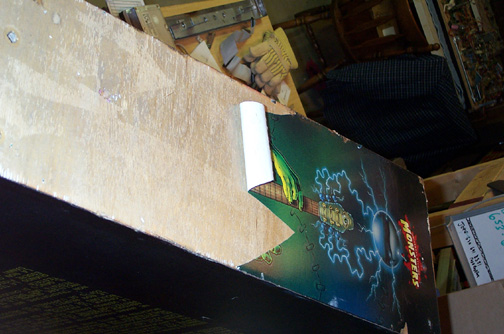
| The left side of the head is now ready to get the old artwork stripped off. Believe it or not fingernail and pull seemed to work the best. The sticker is on there pretty good . . . | |
| The peeling process starts. The wood underneath will need alot of work to get smooth. Bondo will have to suffice to fill in any problem areas. | |
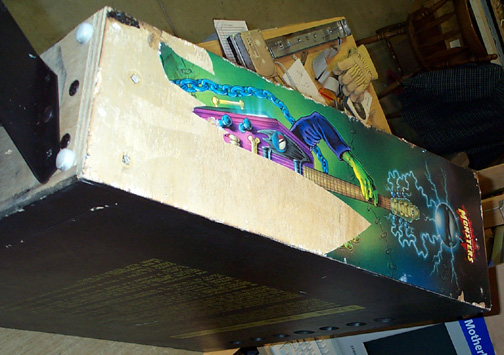
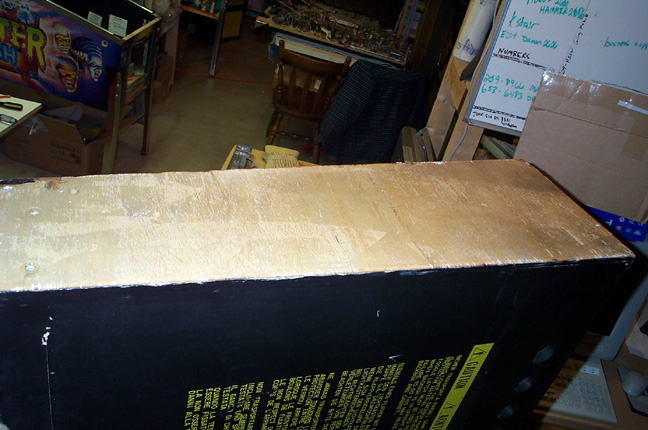
| The whole peeling process only takes about 2 hours for all 5 sides. This is the easy part !! | |
| There is quite a bit of adhesive left on the cabinet and it needs some work to get ready to receive the new sticker. | |