| The top and bottom of the front both needed glue
and TLC to make right again. |
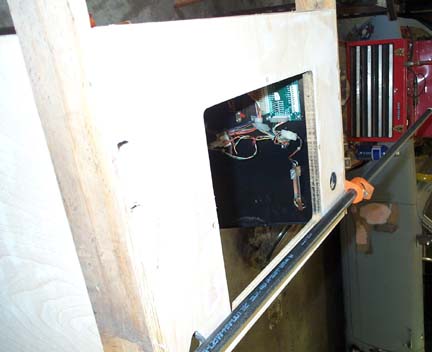 |
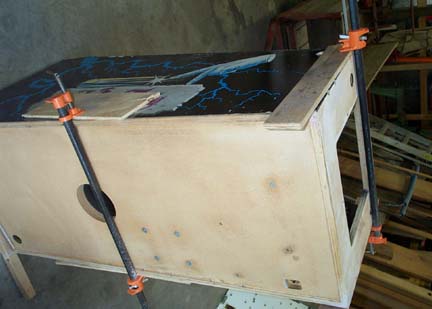
| If you are considering this type of work pipe
clamps come highly recommended ! |
 |
| Here you can see it starting to look alot
better. After several iterations with bondo and more sanding it looks pretty smooth. |
 |
| You can get a look for how much bondo on the
front here. Also sanding the inside of the cabinet gets alot of grime off it.
Yes this is getting the subwoofer kit also ;-) |
 |
| Still working on the blasted corners. This
cabinet was even more work then I thought . . . |
 |
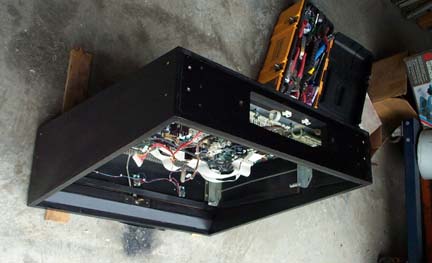
| Both top sides done and the bottom stripped of
bolts. |
 |
| Final sanding and touchups are almost done
getting ready for painting. |
 |
| Even the back gets worked on and all those
corners. |
 |
| The painting starts finally. Since I had to
bondo the corners and some of the laminate splitting I decided to paint the bottom edge
also. |
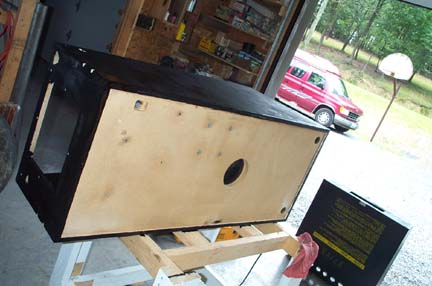 |
| All of a sudden with that black paint covering
everything it starts to look decent again . . . |
 |