Also to the right of the whitewood pic is the NOS scared stiff playfield that everything will be transfered to.

The playfield I'm transferring to is a new Production playfield signed by several of the designers.
Scared Stiff Proto Project :
Background : Well a while ago I had some unique opportunities and one of them ended up being the purchase of a Scared Stiff Whitewood that was in near complete condition. After much thought and looking at the condition I decided to use these parts to build a special Scared Stiff machine rather then leave it as a whitewood. Over a 3 year period I bought the parts that I would need and finally got around to it. My goal was to leave it as close to proto as possible but make it a playable one of a kind game. Here is the story to build it . . .
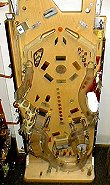
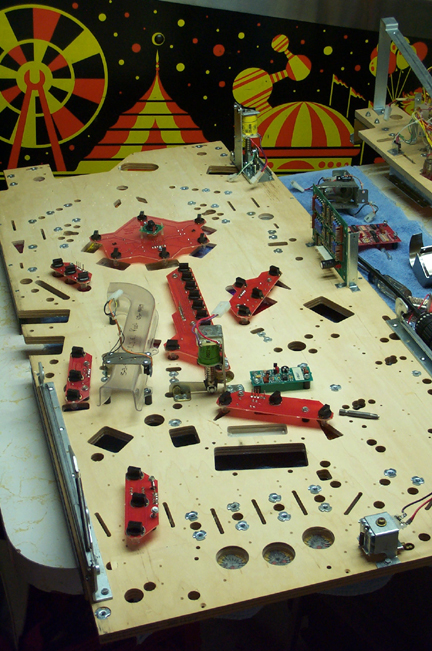
| This is the Scared Stiff White wood. Both
ramps are protos and the crate and coffin mechs are both protos. As a result they're
pretty rough but functional. Its missing quite a bit of stuff. First I strip
off the top stuff so I can start on the bottom. Also to the right of the whitewood pic is the NOS scared stiff playfield that everything will be transfered to. |
|
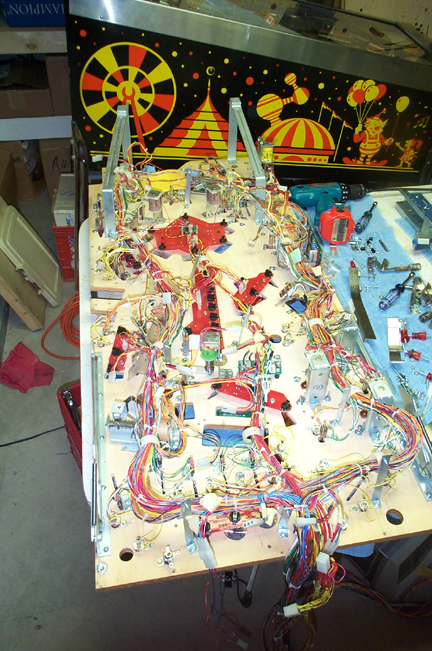
| Here is the bottom of the scared stiff. It turns out on this particular whitewood things are very different. Along with the standard red boards for the lights there are several things not even in the regular production game. See how many you can spot . . . | |
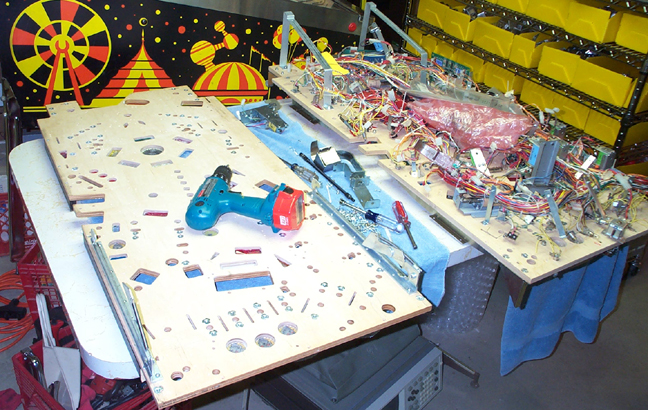
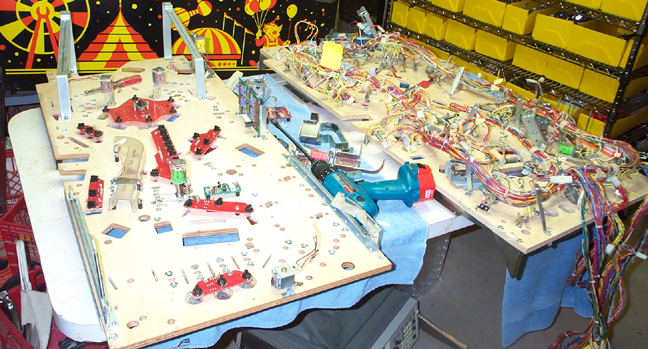
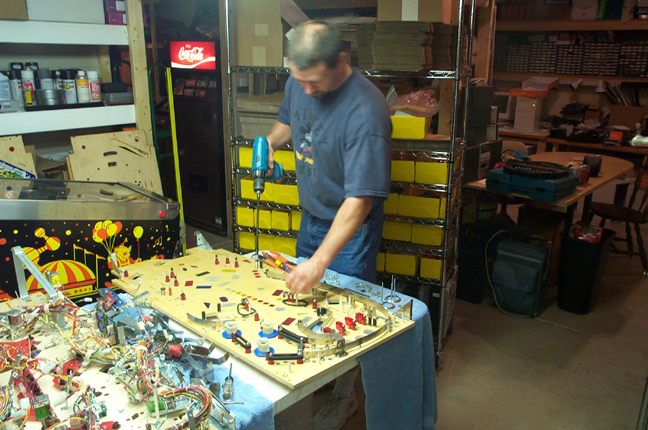
| Starting the swap here with metal rails first,
and wood rails on the top of the playfield to keep the painted surface off the table.
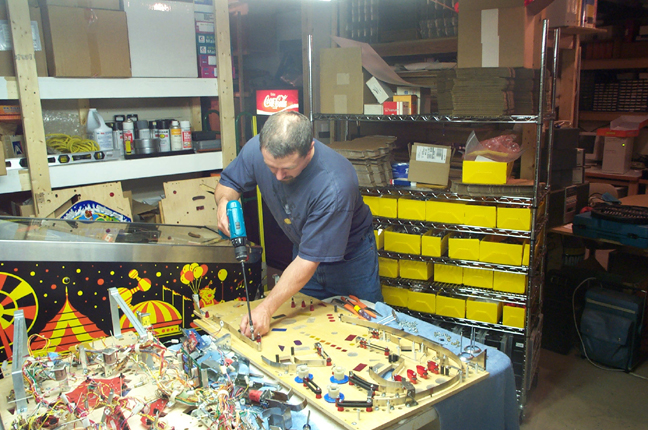
A Screwgun is a must for this type of work. It saves massive wear and tear on
hands and tons of time ! The playfield I'm transferring to is a new Production playfield signed by several of the designers. |
|
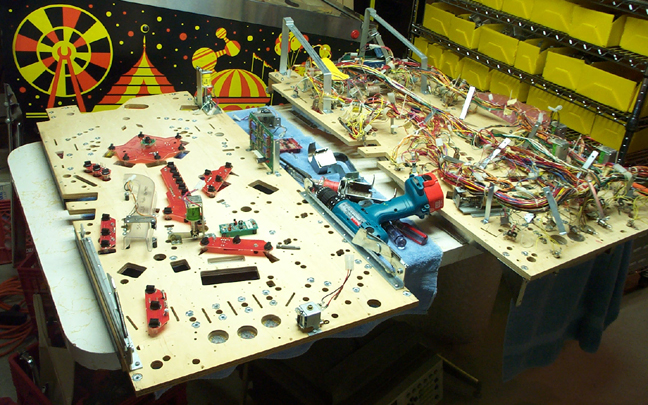
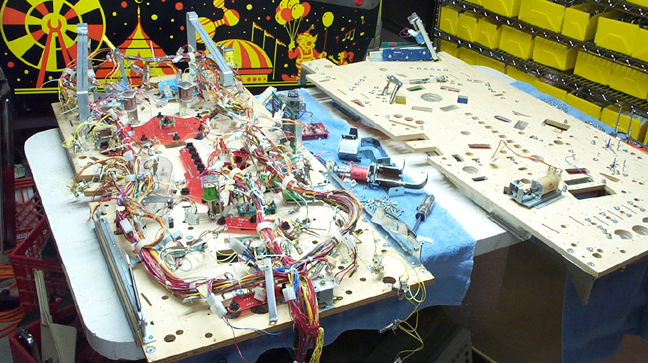
| First I transfer the light boards and under ramp and opto board etc. I also transferred the proximity detector and control board. | |
| Here the mech that autoplunges the ball is put in along with the upper kicker | |
| Metal rails and sling mechs are added. | |
| This process continues with each mech until completed then the entire wiring harness is moved at once and laid in place. Each screw is reinstalled and voila the swap on the bottom is done. A few mechs the require getting to the top of the proto field remain behind. | |
| Taking off the remaining mechs and pulling all the final pieces from the top are next. | |
| Each piece is taken off one at a time. Then it all has to be reinstalled one at a time . . . | |
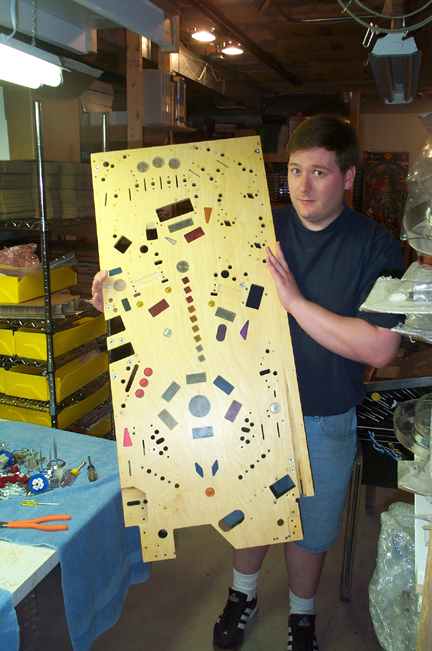
| My buddy Bryan is here holding the blank whitewood. This and many of the proto parts that I wasn't going to use were shipped to a collector that was interested in them. | |