Want to see what the blue clock housing looks like and the change over process ?
Here is the simple clock change and makeover using the best stuff on the market !
|
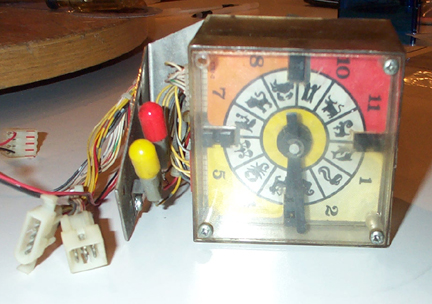
Start with a clock taken from TZ |
|
|
You can see its yellowed significantly over time and looks pretty dingy
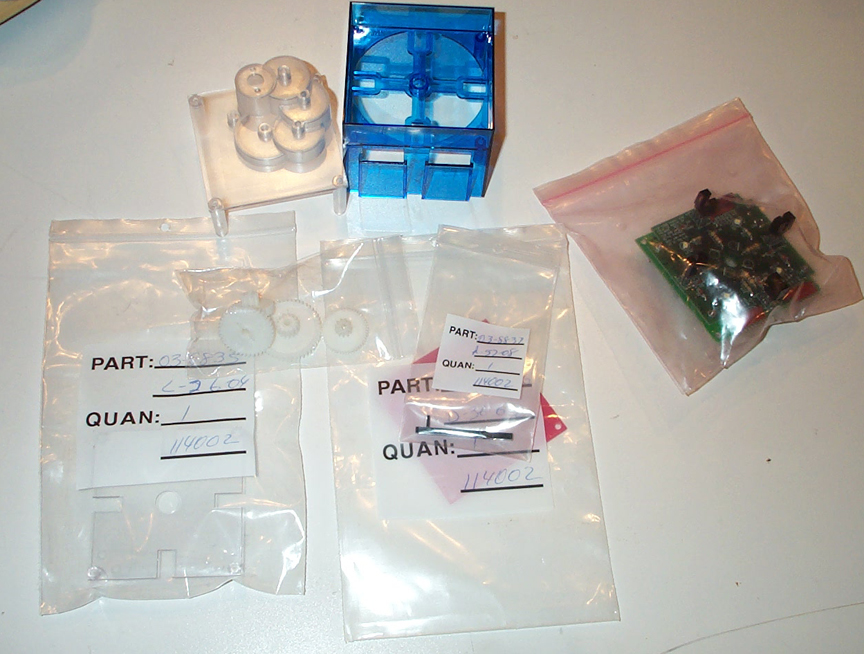
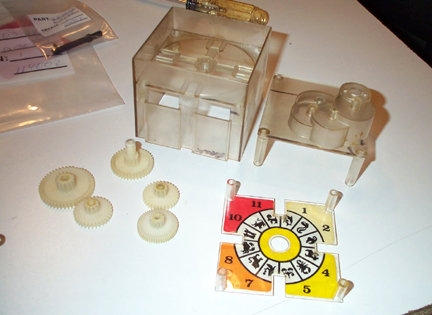
Here is the parts we will use to make it look good again. A NOS clear back, NOS clear center piece, NOS clear front, NOS gears,NOS hands, PBLITZ clock boardset and a new Blue clock housing.
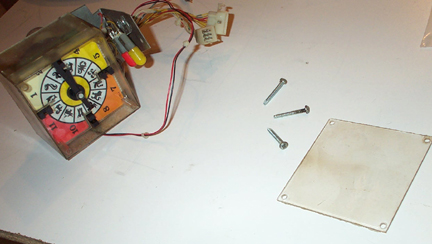 |
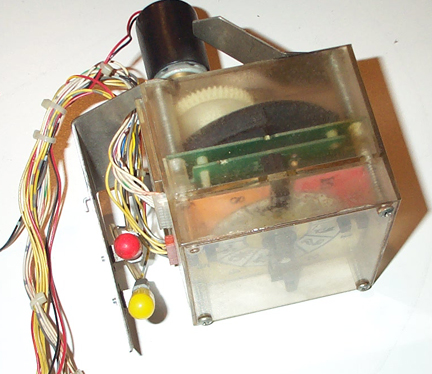
First I take off the old clear lense a little yellowed for sure ! |
 |
Taking off the rest of the screws allows the clock to come apart. I'm short a screw so I'll have to get as extra at the hardware store. |
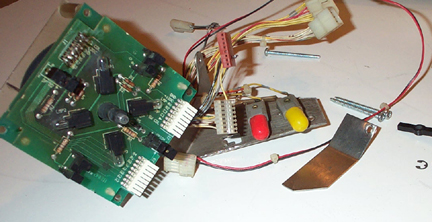 |
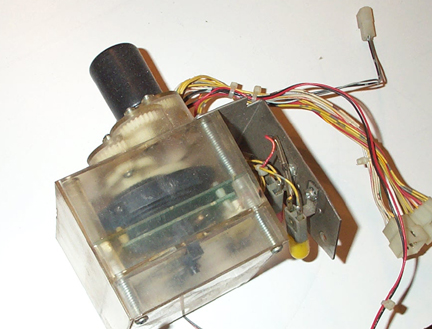
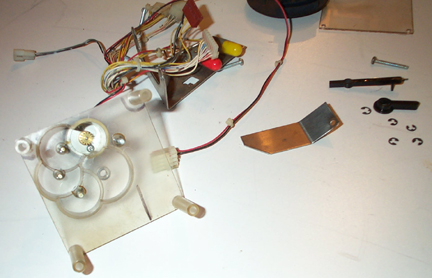
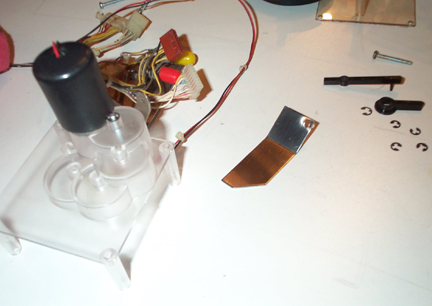
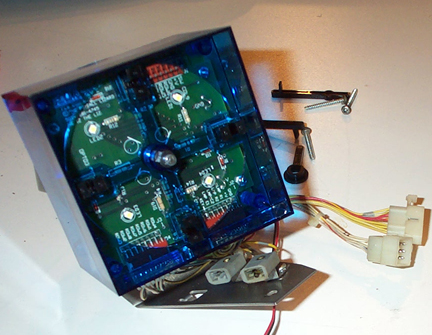
The old clock board is shown here. These are fairly famous for overheating over time and for best results the boards or lights should be replaced with something that doesn't generate as much heat. I chose the PBLitz clock boards. |
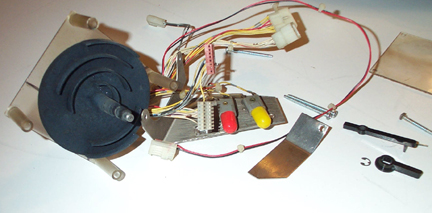 |
Once the clock board is off you get to the back opto interrupter. |
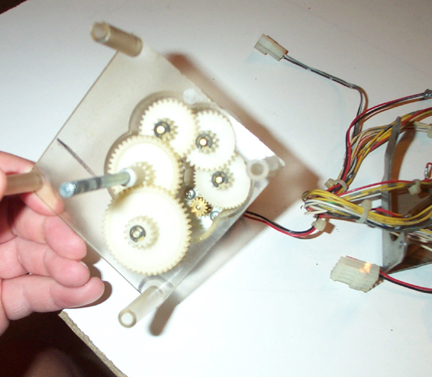 |
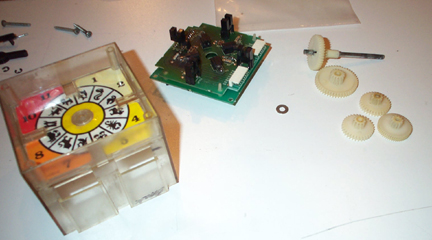
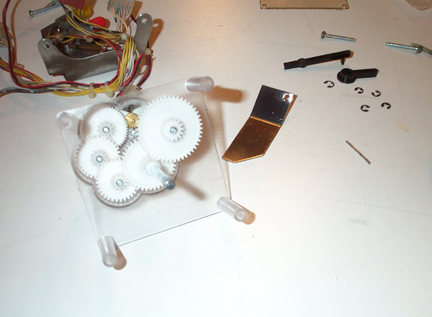
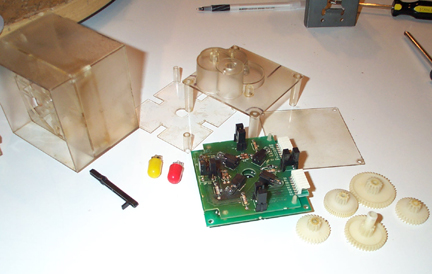
This shows the gears and which one goes where. Its actually pretty hard to get these wrong as its pretty self expanitory. Its always a good idea to get pictures just in case though ! |
 |
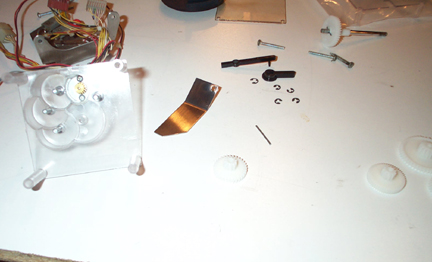
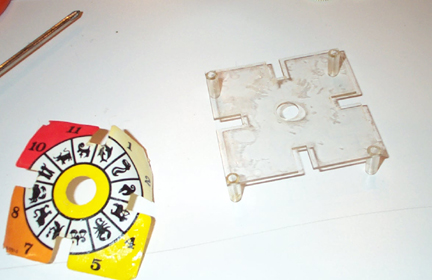
Stripping all the gears out is fairly straight forward once the E-clips are removed. You can see how dirty and yellowed the old back is ! |
 |
Shown here is all the old parts. |
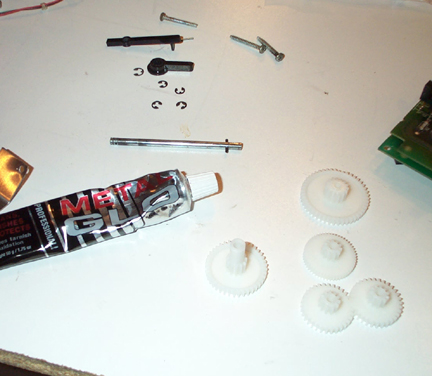 |
I use metal glo for all the metal parts and shafts. This both polishes and cleans. Its good stuff. I recommend it for just about any metal cleaning job. Its a good all purpose metal abrasive polishing paste ! |
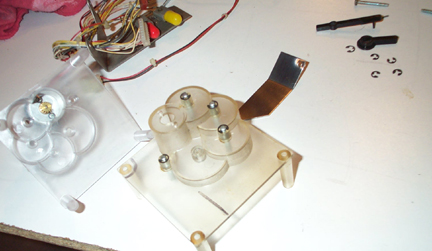 |
Here we can compare old and the new in looks. |
 |
First we transfer the motor of the new back. Two phillips screws hold this in place. |
 |
Next each of the shafts are moved with their respective E-clips. |
 |
Here the gears are all laid in place to test the fit. When satisfied I'll put the E-clips on to hold them in place. |
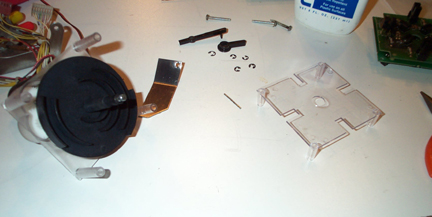 |
Reversing the disassembly steps the opto-interrupter is reassembled. |
 |
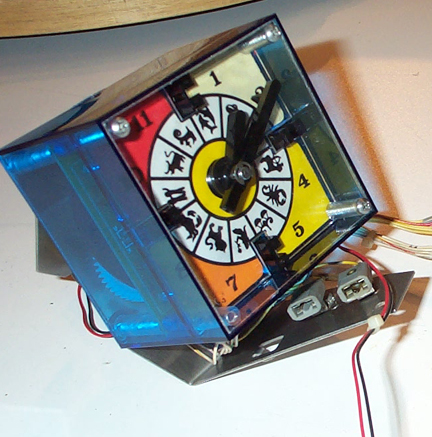
The old stuff looks pretty yellowed. Since I didn't have a new sticker for the clock face I have to reuse the old which is in pretty decent shape. |
 |
Using a heat gun I heat the entire sticker up warming it so the adhesive loosens a little. Then I peel it off the plastic. |
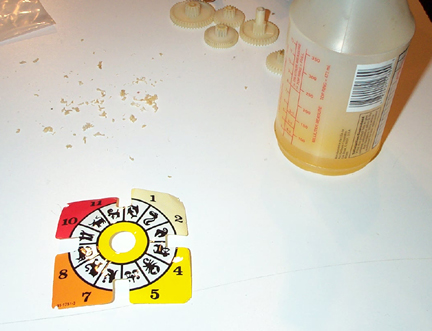 |
I have to remove the old adhesive. Goo Gone does the trick easily. I let the goo gone soak for a few minutes and then carefully using my hands peel off the old adhesive. It comes off like crumbs. I keep applying this until the sticker is clean of old adhesive and feels very smooth. |
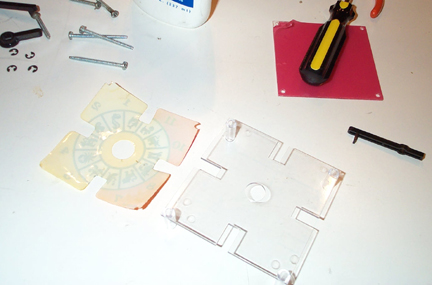 |
Next I have to apply the sticker to the new center clear piece. I use a light coating of 3M adhesive spray to re-glue the sticker onto the center piece. |
 |
Next I put the blue housing on. Man does it look sweet ! |
 |
Finally I add the dry center piece and the clock hands. |
 |
Now I have a pile of old yellowed plastic pieces and an old clock board . . . these will go in the old TZ parts bin with the rest of the pieces. |
Here we have the final assembled unit ready to go !
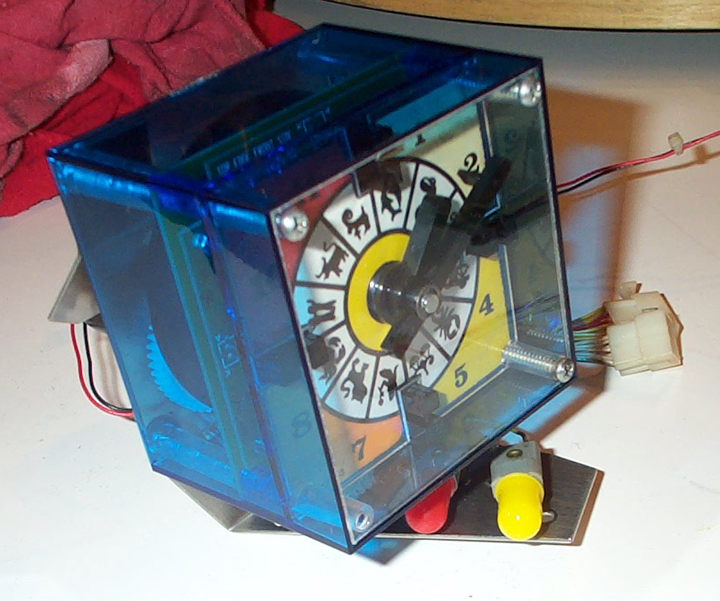 This clock looks smokin' good !!
Blue clock housings are available for $ 50.00. These are replacement items not originals. Meaning they are far superior and far clearer!