
Page 4 Monster Bash Project
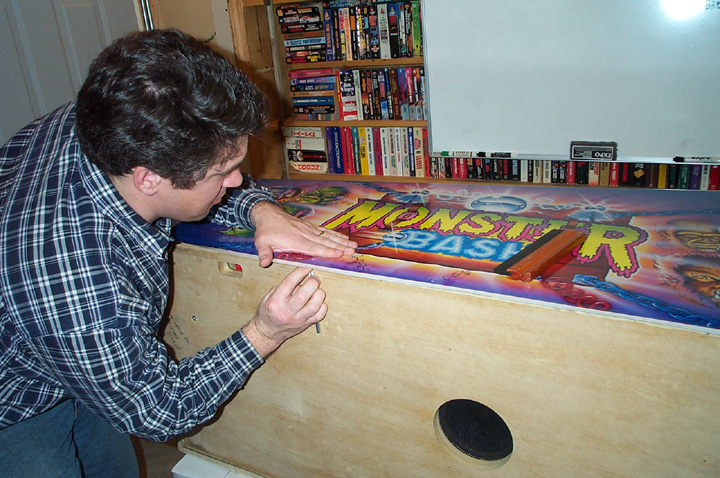
| Mark Macy the master of all things artistic starts with the hood to see how tough its going to be. After sticking the sticker on, a metal straightedge is used for that perfect cut. However to make it look good, Mark uses a black permanent marker along the edge to take out the white edges of the sticker and the wood that shows along the edge. The finished edge is perfect ! | |
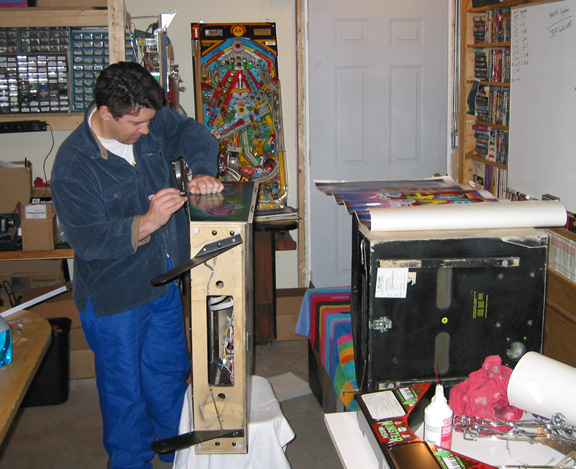
| We were very concerned at the start about that rolled artwork. We figured it would have a tendancy to lift. The adhesive, however is strong. We used the liberal application of Windex on the wood so that when placing the sticker originally we could move it around. After reaching its final resting place a rubber wiper was used to force the windex out around the edges. | |
| Mark does his first pass without the straight edge as he gets rid of the excess first. | |
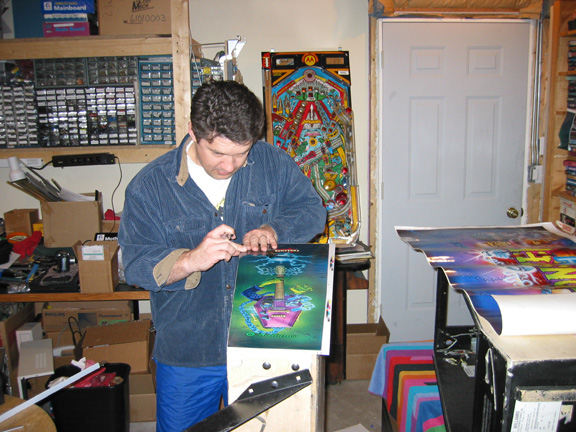
| The front is pretty easy as it mostly gets cut away. Be careful as the sticker likes to run on the cuts . . . | |
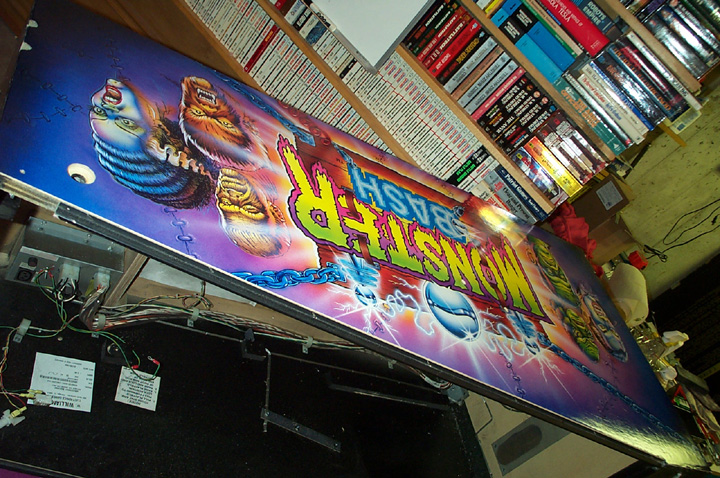
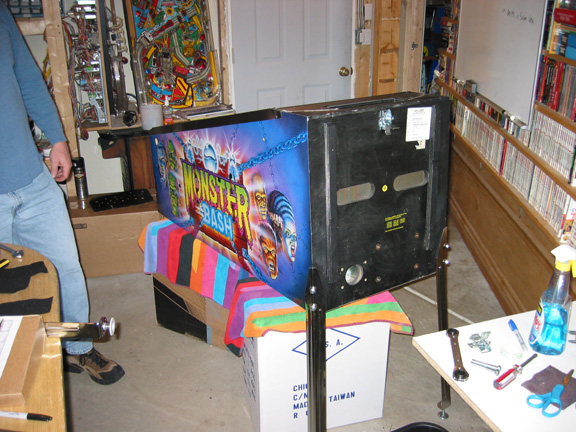
| Its starting to look pretty sharp now. The coin door covers the white part of the sticker. We went with centering the Monster Bash logo at the bottom . . . Not sure if that is the way its supposed to be . . . | |
| If you have done the cabinet work right filling in every imperfection with bondo etc it should be amazing when done! | |
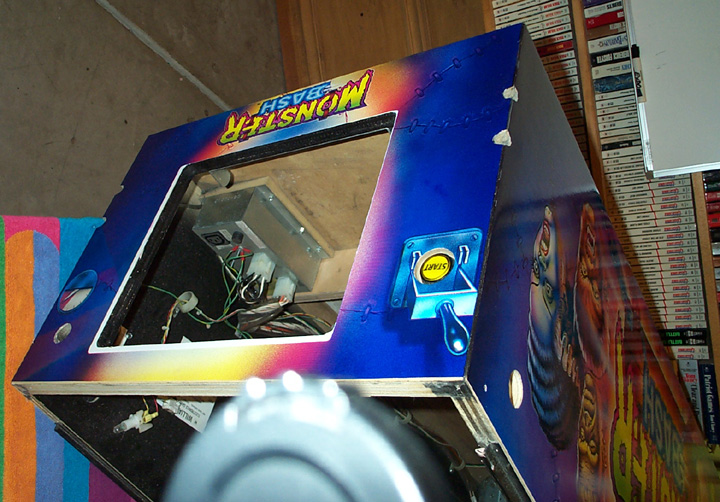
| This extraordinary photo of me loosing my hair also shows the detail cutting the sticker for the bolts. These stickers are very fragile and have to be handled with immense care. | |
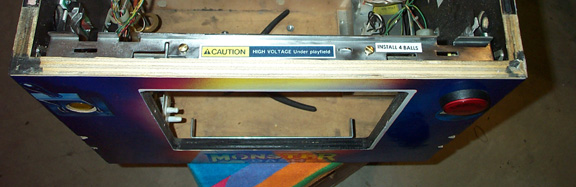
| This is what it looks like done. Mint perfect. I had already scored the sticker where the legs go. This is done by carefully attaching a leg and then using it as a guide slide the exacto down and along it | |
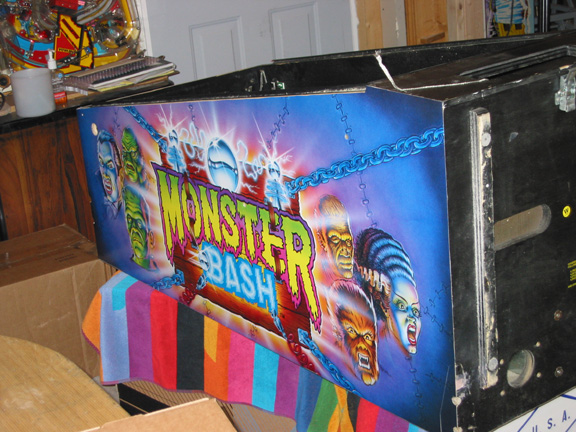
| With the freshly painted bolts back in and new rails its starting to look pretty sharp. Still finishing some bondo work on the front edge to make it perfect | |
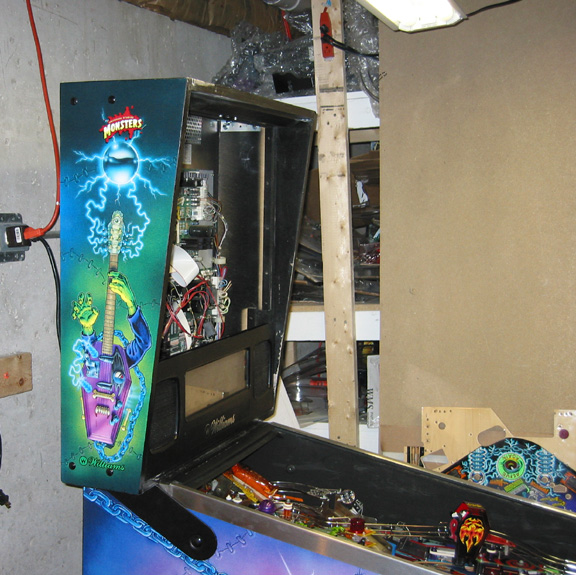
| Before we put it back together we had to score the leg edges. We used felt under the legs against the cabinet and you can see some on the table here. | |
| Some notes: This type of cabinet art replacement is not for the weak of heart. Its long and tedious and making a mistake can be expensive even if the artwork is cheap. | Total elapsed time on just the artwork was like 34 man hours. Granted there were two of us working on it during the application phase. Its alot of work but the results are very nice. Remember to protect the leg area so that no further damage can happen. You definitely don't want to do this to your game twice . . . |